Hey loves! I know some of you have been waiting for this post for a while and I apologize for the delay but here it is! Hope you all like it!
Let's start with hair prep. You can either wash your hair the night before or the day of depending on your hair type. If you have very straight thin hair, I recommend washing it the night before you want to curl it. For thicker, not so straight hair, you can wash the same day. For instance, since I have been dying my hair since high school, my hair is obviously a little drier than normal and therefore it curls best if I wash the same day and let it air day. Another thing, please do not blow dry in any instance. Let it air dry and just keep running your fingers through it to keep it a little messy.
You will need a thin comb, light hairspray (not the extra stiff hold one that gets crusty) a standard size curling iron and a flat iron.
First, you need to choose whether you want thick dramatic waves or just a soft wave. This will decide how long and the amount of hair to curl at one time. Start by separating your hair into two sections. Top and bottom, splitting it across half way through your hair. You can honestly split any way you want. Whatever works best for you is fine. Start grabbing smaller sections and again, you choose how wavy you want it by choosing how much hair to curl at one time like in the picture below.
Once you have your section ready, angle the curling iron down, and always start wrapping the hair around the curling iron away from your face, never towards your face. Wrap the hair around the barrel without using the clamp thingy. Once you have no more hair to wrap, hold the tip out with your finger as shown below. NOTE: Do not comb through the hair before curling!
I know it looks like I'm touching the iron but I'm not!
This is what your curl should look like after a couple of seconds of holding it still. Remember it does not have to be perfect because at the end you will blend it all together. Plus, this is a beach waves tutorial, so messy is good!
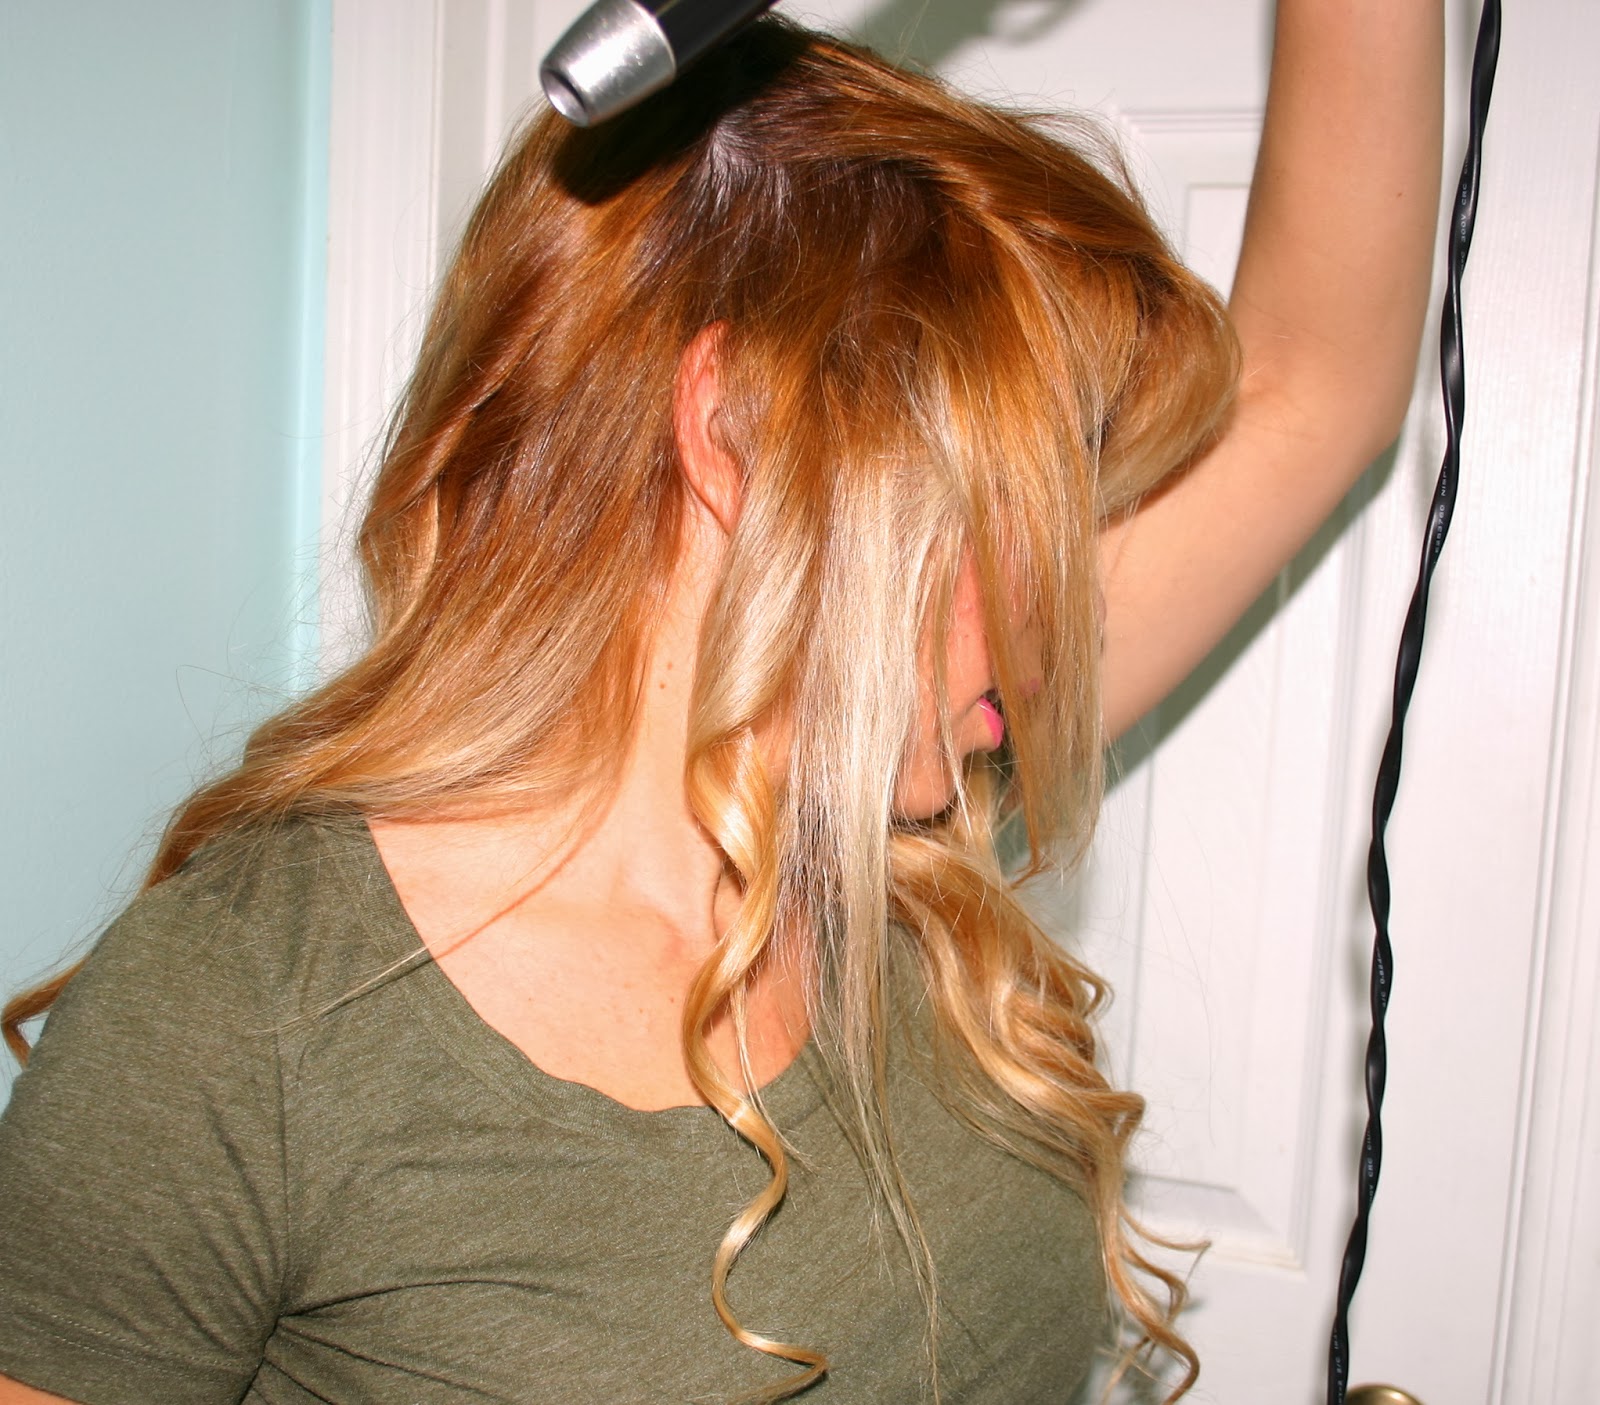
Now continue doing the same on each section of your hair. Remember you can take big chunks or small chunks of hair. It's all on your personal preference. Always remember to angle the curling iron down. That is the trick to getting the perfect wave. It might take some practice before you get it perfect but it will definitely be worth it. It took me a while to get them exactly the way I wanted.
In this picture, I am curling the top section which is where I have the shorter strands. As you can see, I only wrapped the hair like twice and again held the ends with my fingers. Never curl all the way to the end of the hair and always curl away from your face.
Continue on to the back of your hair repeating all the same steps.
For my bangs, I take a thicker portion of hair and curl it all together for the side swept look.
When done curling, run your fingers through and separate the waves and toss them around for a messier and more natural look. Add light hair spray sporadically throughout. For instance, lightly spray on the tip and the inner hair. For more polished waves, do not separate with your fingers. Just scrunch the hair with your hands and add lots of hair spray.
Love my hairspray!!!
Now on to the final step. This is more of a personal preference step. I like to refine my roots and any little weird curly looking or frizzy baby hairs by ironing them with my flat iron. If you choose to use the flat iron on your roots, only iron about 2 inches down. You don't want to flatten your waves. And just let the hair fall. Don't try to comb it out. Just toss it around a little and it will fall into place naturally.
And there you have it. Hope this tutorial was helpful. If you have any questions at all, please do not hesitate to contact me. Being my first, I'm sure I left out something. Plus, it's really hard to explain what I'm doing in writing and in pictures. Maybe next time I'll do a video tutorial. Please let me know what you guys thought, whether it be here or on Instagram. Please make sure to tag me and use #isabeachwaves to show me any looks you created using this tutorial.
A little bonus…
I was asked how I keep my hair to the side like in the picture below. Well, its simple. Follow all the same steps above to do your waves. Once you've finished, you take all your hair and toss it to whichever side you want it on. Start doing a soft twist from the opposite side of where you want all your hair to be and pull the hair together as much as possible. Take about 2 or 3 bobby pins and pin them at the back trying to go as close to the scalp as possible. Also, you want to start pinning at the very bottom and go upwards. Then take some of the hair closest to the pins and just layer them on top to cover them.
And you're done. Add a pretty rhinestone clip for a more elegant occasion.
Have a great day!
XOXO,
Isa